public class LayoutInflaterActivity extends AppCompatActivity{
private LinearLayout mLinearLayout;
private View mSubView;
@Override
protected void onCreate(Bundle savedInstanceState) {
super.onCreate(savedInstanceState);
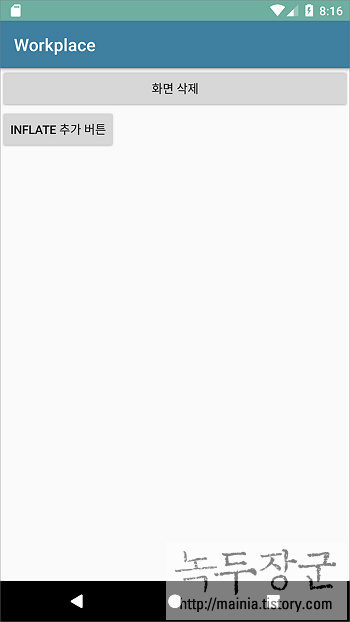
setContentView(R.layout.activity_layout_inflater);
mLinearLayout = (LinearLayout) findViewById(R.id.sub);
LayoutInflater layoutInflater =
(LayoutInflater) getSystemService(Context.LAYOUT_INFLATER_SERVICE);
mSubView = (View) layoutInflater.inflate(R.layout.btn_layout, mLinearLayout, true);
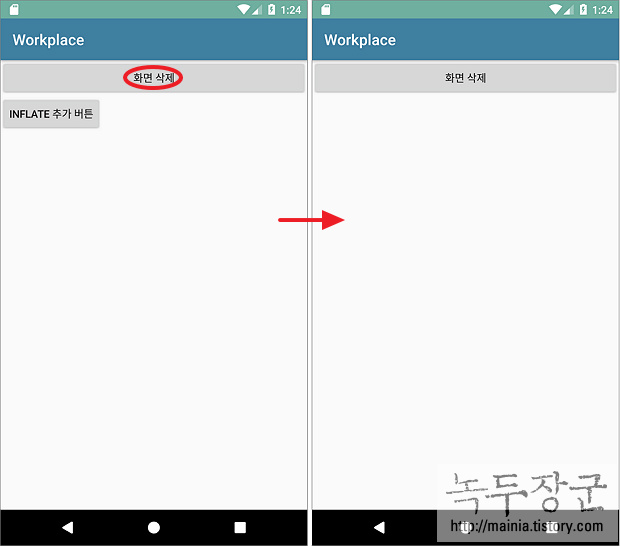
Button btnDelete = (Button) findViewById(R.id.btn_delete);
btnDelete.setOnClickListener(new View.OnClickListener() {
@Override
public void onClick(View v) {
ViewGroup parentViewGroup = (ViewGroup) mSubView.getParent();
if (null != parentViewGroup) {
parentViewGroup.removeView(mSubView);
}
}
});
}
}